 In this this post we’ll do a “quick start” on how to add Open Graph to WordPress and make your content shareable on Facebook.
When you share a web page to Facebook a number of things happen. Facebook will “crawl” your page and try to gather information needed to put together a share post. It will make a best guess at what your title, description and cover image should be.
More often than not, this doesn’t always look the way you want it to look! What you end up with is a jumble of words and an image that doesn’t make sense.
With what is called the “Open Graph Protocol” (OG) you can specify exactly what title, description, image, video, and many more attributes you want to appear in your share. There is even a preview tool that will let you test how your page is going to appear as a share without having to do an actual live share.
Open Graph Protocol
Technically, Open Graph Protocol (OG) is a set of meta tags embedded in your HTML that tell the platform you’re sharing to exactly what you want to appear in the share.
Sharing is caring and you want it to work right! Let’s go into an easy way to add OG to your WordPress blog.
Facebook For Developers
First of all, you will need to register at Facebook For Developers. Just go to the Facebook For Developers portal, and login with your Facebook account.
Next, look for and select the “Create New App” option. It’s in the drop down menu at the top right or on the side bar at the left.
Enter a name, the URL and pick a category. Proceed to the next step and this will give you an “App ID”. This number uniquely identifies your website to Facebook. Copy this number. You will need it for the next step.
In here too, you’ll see that there are many other options you can select from your dashboard to interface your website with Facebook. All we need for now is the App ID.
All in One SEO Plugin
Log in to your WordPress dashboard and install the All In One SEO plugin if you do not have it already. This is a really great plugin for managing the SEO and social meta tags in your blog posts/pages.
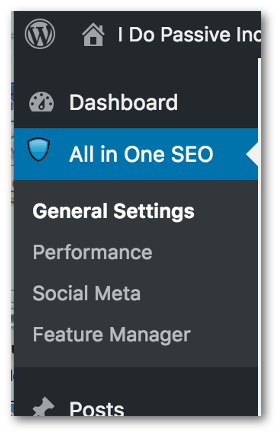
Once installed, you’ll see a new menu in your dashboard sidebar. Select the “Feature Manager” item. You’ll see a list of features that you can activate for All In One SEO. Activate the free “Social Meta” feature by selecting the “Activate”. The button state will change to “Deactivate” once activated, and you’ll see “Social Meta” added to the dashboard menu.
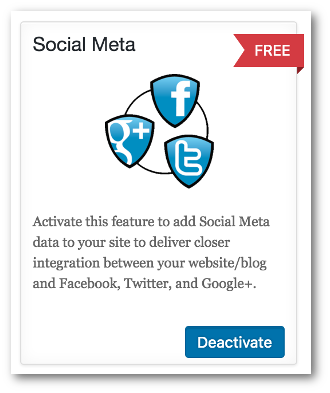
Social Meta
Select that “Social Meta” menu and you will see several boxes of settings that can be customized. Since this is a “quick start” guide to getting set up, we’re going to update just a few essential settings. You can leave all of the other options at their default settings for now.
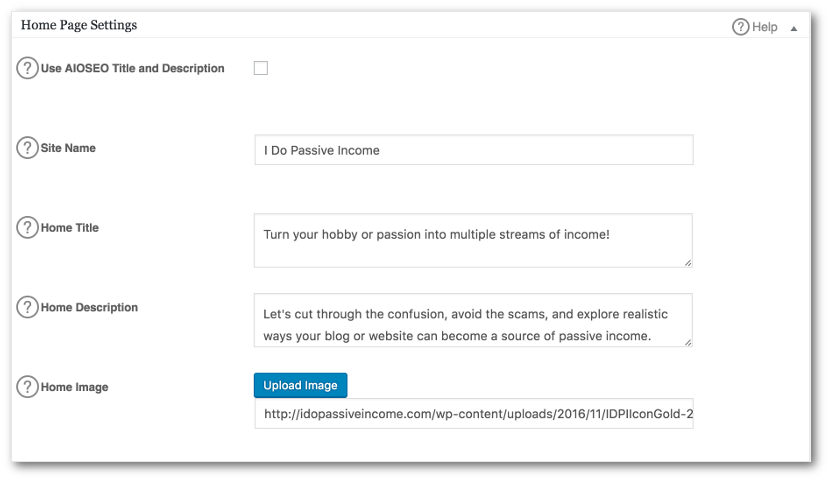
First, let’s scroll down to the box labeled “Home Page Settings“.
Fill in all three of these boxes – “Site Name”, “Home Title” and “Home Description”. Upload an image for “Home Image”.
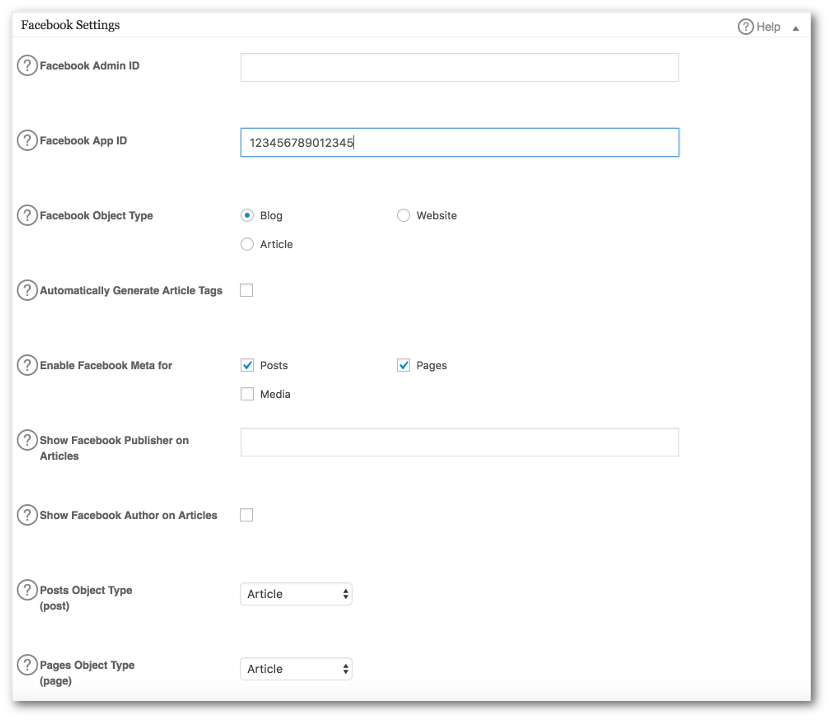
Now, scroll down to the box labeled “Facebook Settings“.
In the “Facebook Admin ID” box, enter Facebook Admin ID. What’s that!? You can find it using this utility: Find my Facebook ID
In the “Facebook App ID” box, enter App ID you generated in Facebook For Developers.
The other settings you can leave as is for now. For help on any of the sections, click on the “(?) Help” button in the top right corner.
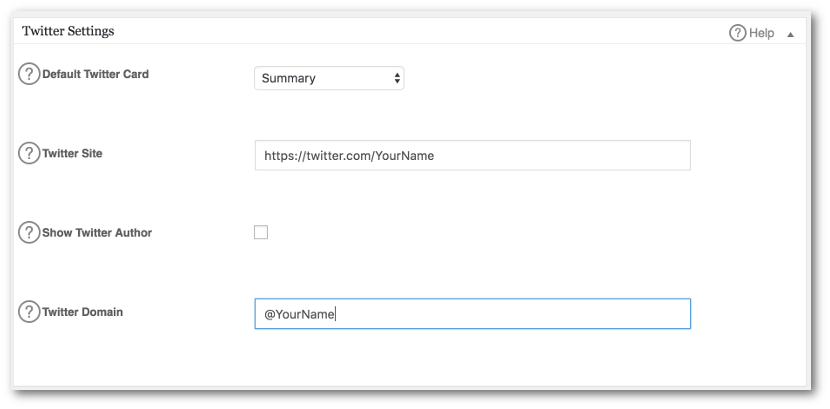
Scroll down to the “Twitter Settings” section. Just enter your Twitter web address in the “Twitter Site” box and your @YourNme handle in the “Twitter Domain” box.
When you’re done, scroll down to the bottom and select the “Update Options” button to apply your changes. The button also appears at the top of the page, too. These changes are global for your entire website and only need to be done once.

Open Graph Settings For Posts
Here we’ll cover how to set the Open Graph options for each blog post you write. You’ll be setting these every time you create a new blog post.
From the WordPress dashboard, navigate to the post you want to update and select the “Edit” option as you normally do to edit it, or start a new post and write it out.
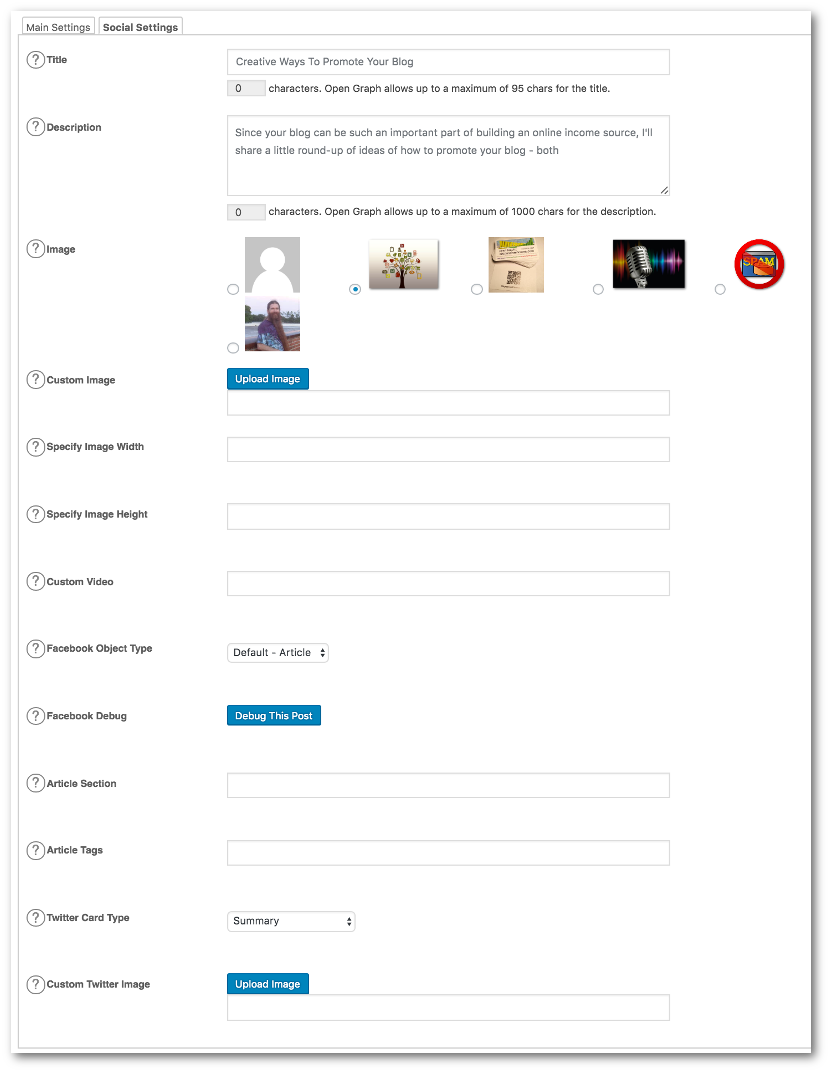
Scroll down below the editor area until you see the All In One SEO tabs shown below. These are the meta tag settings for the post you are editing. Select the “Social Settings” tab.
At the very least, you will want to fill in a Title, Description, and select an Image. These are what will appear on Facebook when your post is shared. You can also upload an image if you want something that is not in the post.
Additionally, at the bottom, you can pick a type and image for Twitter shares, too.
When you’re done, select the “Save Draft” or “Publish” buttons, or the “Update” button if updating a post that is already published.
After saving your changes, select the “Debug This Post” button to preview what your share will look like on Facebook. This let’s you preview your settings without having to wait to do an actual share.
Using the Facebook Sharing Debugger
When you’re done making changes, or just want to see how a particular page looks, you can enter the URL directly in the Facebook Sharing Debugger. This will generate a preview of what your share will look like and display warnings of anything that needs to be fixed – typically a missing tag.
This is just one of many useful tools you’ll find in the Tools And Support section of Facebook For Developers.
That’s it for now! I hope you find this post helpful in making your shares look like they’re supposed to look. Feel free to comment or ask questions below.
Cheers!


Wow, Oren!
These are very useful tips for all of us who are new to WordPress and still trying to build our sites and make the shareable to the social networks! You gave me good directions that Ii can now follow and I will be able to test how my page is going to appear as a share. Great information! Thanks for sharing!
Best wishes,
Rebecca!
Hi Rebecca, you are welcome! Getting started with a new website can be a daunting task. I am glad to be of help.
Cheers and best, Oren
You have given some very useful tips to make posts shareable. While some of the elements you mentioned are still very new to me, they have pointed me in the right direction to learn more about implementing social media into our blogs. I think it’s important to put in these elements to increase visibility. Thanks for sharing this. Really appreciate it.
Hi Lily, Thanks for the comment.
Social sharing is big subject in itself. A lot of this is new to me too! It adds a lot of new details for aspiring webmasters and bloggers to consider.
Many times I’ve shared posts or pages to Facebook and the share doesn’t look good. I wanted to see if there’s a way to manage how these appear when shared. I’m learning lots of stuff, and I’ll post more as I progress.
Cheers!